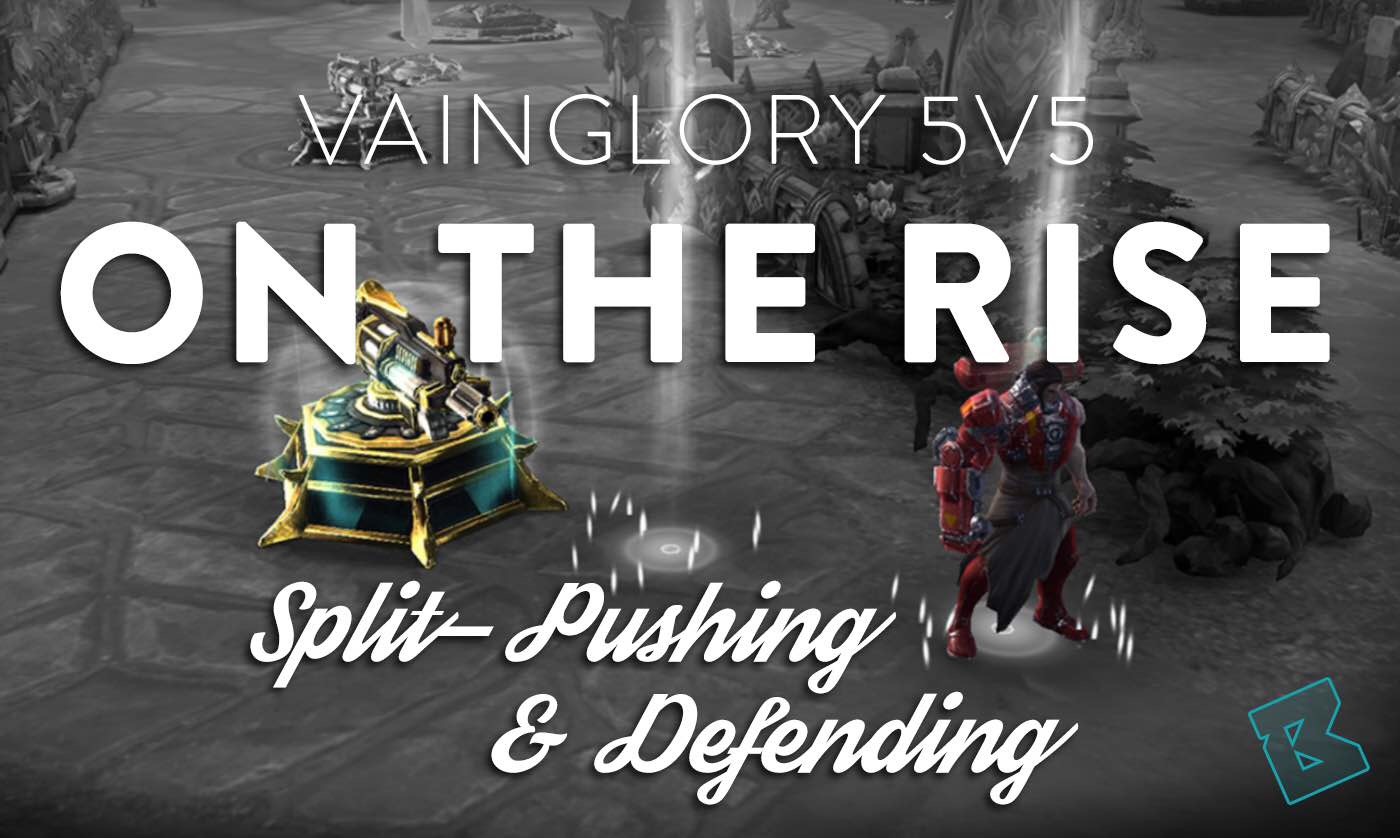
The Vainglory 5V5 mid game commences when the first set of turrets falls. Backdoors, split pushing and other strategies that involve information and map position begin to flourish. In other MOBA titles, these are sometimes referred to as “rat strats.” Although there is debate about the legitimacy of these tactics, the aim of the game is to break the enemy Vain crystal — not to win team fights. If you can break the enemy crystal without engaging in risky head-to-head fights, then why not do so?
All warfare is based on deception.
— SunTzu, Art of War
In the laning phase, the use of deception is limited to the rotation of the jungler, captain, and judicious use of bushes to create ganks. This stems from the proximity of the turrets to each other, supplying both teams with information about the movement and positioning of their opponents. Once the first lane turrets start to fall, dark spaces open up on the map, where the enemy may lack vision. At this point, brute strength becomes less important than wits. The strongest of heroes are prone to fall in a 2v1 gank, and the weakest can deal significant damage if they reach an enemy objective without contest. While you could cluster up into a ball of death and try to bash your way down one lane, you will often be more successful if you take control of your opponent. Pressure them to commit the majority of their forces to one objective while you focus your force elsewhere.
Types of Rat Strats
Split pushing and rat strats in general aren’t just tactical moves. They are also a form of psychological warfare — aiming to sow frustration, uncertainty, and discord in the enemy ranks. The more off-kilter you can set your opponent, they are in turn more likely to make unforced errors which cost them the game.
Split Pushing
The most well known rat strat, split pushing involves dividing the enemy’s attention to conquer. By placing significant pressure on a particular objective (either one of the lanes or one of the dragons), the enemy team becomes forced to defend the objective in contest. However, while they are tending to that, use a smaller force in another location to seize something of value — such as a turret.
When executing a split push, it’s important to ensure you have completed sufficient preparation. Have you placed vision along the main routes that the enemy may collapse on you from? Are the minion waves pushed so you can attack the turret with a wave? Have you purchased Minion Candy to strengthen the wave?
There are broadly 3 main formations you may employ for split pushing: 4/1 — 3/1/1 — 2/2/1.
- 4/1 is the safest and provides the best chance of brute forcing your way through the initial objective while the split pusher steals another objective.
- 3/1/1 places pressure on all 3 lanes at once, but makes your main force more prone to being overwhelmed by a single pick off.
- 2/2/1 relies on having a hero who requires focus from the enemy team, such as early game WP SAW. They hold the enemy attention and focus, requiring a response from more than one enemy, while the other lanes exploit a numerical advantage.
A split push doesn’t have to end in the destruction of the enemy objectives to be successful. Gnawing them down slowly but surely is a success and usually a better idea than overcommitting to the objective.
Heroes are suited to split pushing based on their strengths and weaknesses. A great split push hero has high objective damage, fast movement speed, and reliable escape mechanics. Glaive, Kestrel, Blackfeather, Flicker, and Taka stand out right now as very strong split pushers in Vainglory 5V5.
Baits
Baits are a subsidiary of split pushing. Through tricking the opponent into spending time, energy, and resources toward trying to shut down one of your heroes, a gap opens up for your other heroes to progress in a different area. This could be pushing elsewhere or collapsing onto the heroes processing your team. Whatever it is, though, the aim is to occupy the enemy attention, focus and a disproportionate amount of resources. This was seen in the TSM vs. Renegades show match, where uNi on Vox pushed top lane by himself and TSM collapsed on him. His job there was not to destroy the turret, but instead to pull their attention so that Chingy on Glaive could advance onto the bottom lane turret. This bait required the sacrifice of Vox for the turret; a typically worthwhile trade, but the ideal bait involves no sacrifice at all. A hyper mobile hero used in a bait can often occupy the enemy and escape without taking significant damage.
Pick Offs
These involve spotting an enemy out of position and maneuvering to eliminate them from the playing field. They depend on strong vision control to be successful, usually combined with crowd control. Picking off an enemy hero is dangerous, though, since the “out of position” enemy could be bait trying to lead you into an ambush. Doing so may involve a significant investment of resources without return if you do not shut down the hero you are trying to pick off. However, if you can successfully shut down an opponent, then you have an advantage which you can press until they respawn.
Feints
A feint is faking movement towards an objective while ultimately aiming for another. The classic feint on the Halcyon Fold revolves around beginning the Gold Miner or Kraken to force the enemy to engage with you. A similar play can be made around the dragons in 5V5. However, the other form of feint available is intentionally giving the enemy information to force them to split their forces. When FlashX and LuckyBread used their Teleport Boots within sight of Renegades and teleported to the minions in top lane, Renegades was forced to honour that threat and send several players home to prevent further pressure on their base. When FlashX and LuckyBread instead moved back into mid lane, it allowed their team to catch Renegades out of position and win the team fight with their superior numbers.
Ambushes
With the much larger map, ambushes become more viable in 5V5. The plan is straightforward — wait near where your enemy must move to. For example, check that you are not taking the dragon. Then, when there is an opportune moment, you leap out and catch them off-guard. Ambushes can be devastating, but they are also a high risk strategy since being spotted can backfire. Likewise, if you don’t execute them perfectly, they can create a full engage which you then lose (as happened in both show matches when there was an ambush).
Backdoors
Backdoors are of course something that all Vainglory players are familiar with. While they are viable in 5V5 and particularly epic backdoors can be pulled off (e.g. by using Teleport Boots to port as a team to a scout cam in the enemy base), they are also quite risky. If two of the armories are alive, the Vain crystal is tough to destroy, and a backdoor can easily end in disaster — as it did for TSM in the show match against Renegades.
Trades
The final strategy of this nature is to make a trade where you allow the opponent to capture one of your objectives, but in response you use the opportunity to capture either two of their objectives or a higher value objective for yourself. This strategy requires an excellent understanding of the value of the different objectives so you can ensure that the trade you are making is worthwhile.
Value of Objectives
[su_tabs vertical=”yes”][su_tab title=”Vain Crystal”]
██████████
Destroy their Vain, win the game. It’s worth any trade.
[/su_tab][su_tab title=”Armory”]
█████████▒
Destroying an enemy armory allows the Vain crystal to be taken and lowers its defenses. Eliminating the second and third armory removes one unique ability each from the Vain. It also ensures that the enemy will have to constantly deal with that armory’s lane being pushed up due to their weakened minions.
[/su_tab][su_tab title=”Ghostwing”]
████████▒▒
Throughout the buff duration, you should win most team fights — even if the enemy team comp is stronger than yours. So, capturing this can equate to strong objective control over at least one (if not two) other objectives.
[/su_tab][su_tab title=”Blackclaw”]
███████▒▒▒
With Blackclaw, you should be able to take at least two turrets down. Push with him directly or split push the side lanes while he travels down Mid.
[/su_tab][su_tab title=”Turrets”]
██████▒▒▒▒
Turrets open up the map for you and take away safety from the enemy; thus, less resources and more opportunities to make mistakes. In general, deeper and mid turrets are the most valuable.
[/su_tab][su_tab title=”Buff Minions”]
████▒▒▒▒▒▒
Acquired Buff Treants create an opportunity for map pressure through ganks, team fight advantages, and a rather frightening red or blue aura.
[/su_tab][su_tab title=”Kills”]
███▒▒▒▒▒▒▒
In 5V5, kills have limited usefulness due to them requiring action thereafter. Kills slow down the enemy from farming, and you can convert the additional advantage they provide your team into more permanent objective captures.
[/su_tab][/su_tab][/su_tabs]
Responding to Rat Strats
Rat strats can cause frustration and irritation. We’ve all encountered players who complain about people in Blitz mode who “focus objectives, when the point is to win fights.” Facing a team who has mastered these strategies can be disorienting, confusing, and annoying. However, there are principles you can follow to minimise their impact and even manipulate their tactics back against them to your advantage. While rat strats can win the mid game and become very influential on the outcome, they are rarely completely determinative of the outcome. It is difficult to break the base and capture the Vain without taking a few teamfights.
Act don’t React
The most important principle for dealing with rat strats is that you cannot let your enemy dictate the tempo of your own game. If you are constantly responding to them, then you aren’t in control and cannot achieve your own objectives. Even worse is that they’ll be switching objectives and focuses while you spend half your time traveling to where they were before getting damage done and fading away again. Rather than falling into the trap of focusing your sunk costs, if it is clear they have taken an objective, then let them. Use your forces more efficiently elsewhere to turn it into a trade. If you can minimise and control their opportunities for rat strats, then you can also turn them into a rat trap back on them. Likewise, it is essential to stay calm in the face of these tactics. If you tilt and blame your teammates for being outmaneuvered, then you are doing your opponent’s work for them.
We Need Vision
Rat strats involve deception and manipulation of the fog of war. As a result, the best counter is to maximise the information you have through smart utilization of all forms of vision (including hero abilities). Most importantly, you need vision deep enough into enemy territory that you can tell which objectives they are likely to be focusing before they hit them. It is particularly useful to watch here for patterns of attack. If your opponent falls into a predictable pattern, you can use that to run an ambush or a pick off, which will give you a better engagement.
Bait the Traps
Taking turrets without a minion wave is difficult in 5V5. This gives the defending team an opportunity to control the possible approaches to their objectives. For example, pushing out the waves and using Minion Candy, or stalling and then pushing to make using particular lanes very difficult for the enemy. While this can be done purely defensively by pushing all of the lanes, a more aggressive play is to allow one lane to be pushed in while pushing out the others. This makes it likely that that lane is where the split pusher will have to focus. With that knowledge, you can set up a rat trap.
Force Engagements
The side that is defending against rat strats is often in a position to win team fights. Because of this, you can play to force team fights with your own objective focus. For example, by starting either of the dragons, you effectively force the rats to contest it — then switch into a hard engage on them. Likewise, once the map is very open up from two turrets falling in multiple lanes, judicious use of vision can enable you to close down a split pusher with minimal risk, and transition that into objective pressure.
While rat strats can provide your team a considerable advantage, they are unlikely to finish the game for you. For that, you must win decisive engagements in the final portion of Vainglory 5V5 — the team fighting phase.
[su_spoiler title=”Read the Full Collection” open=”yes” style=”fancy” icon=”arrow-circle-2″]
[su_posts template=”templates/list-loop.php” author=”465″ order=”asc”]
[/su_spoiler]